Friday, 18 October 2013

Filastruder Unboxing


My Filastruder arrived today after I parted with 46UKP to Her Majesty for the privilege of bringing it into the country.
It took a total of 25 days from ordering to arrival. Three of those days were spent in Her Majesty's customs whilst they sent me a letter demanding the fee mentioned above. I was able to track the package using UPS's tracking service throughout the journey.

It arrived well packaged:


Box was not too cramped:
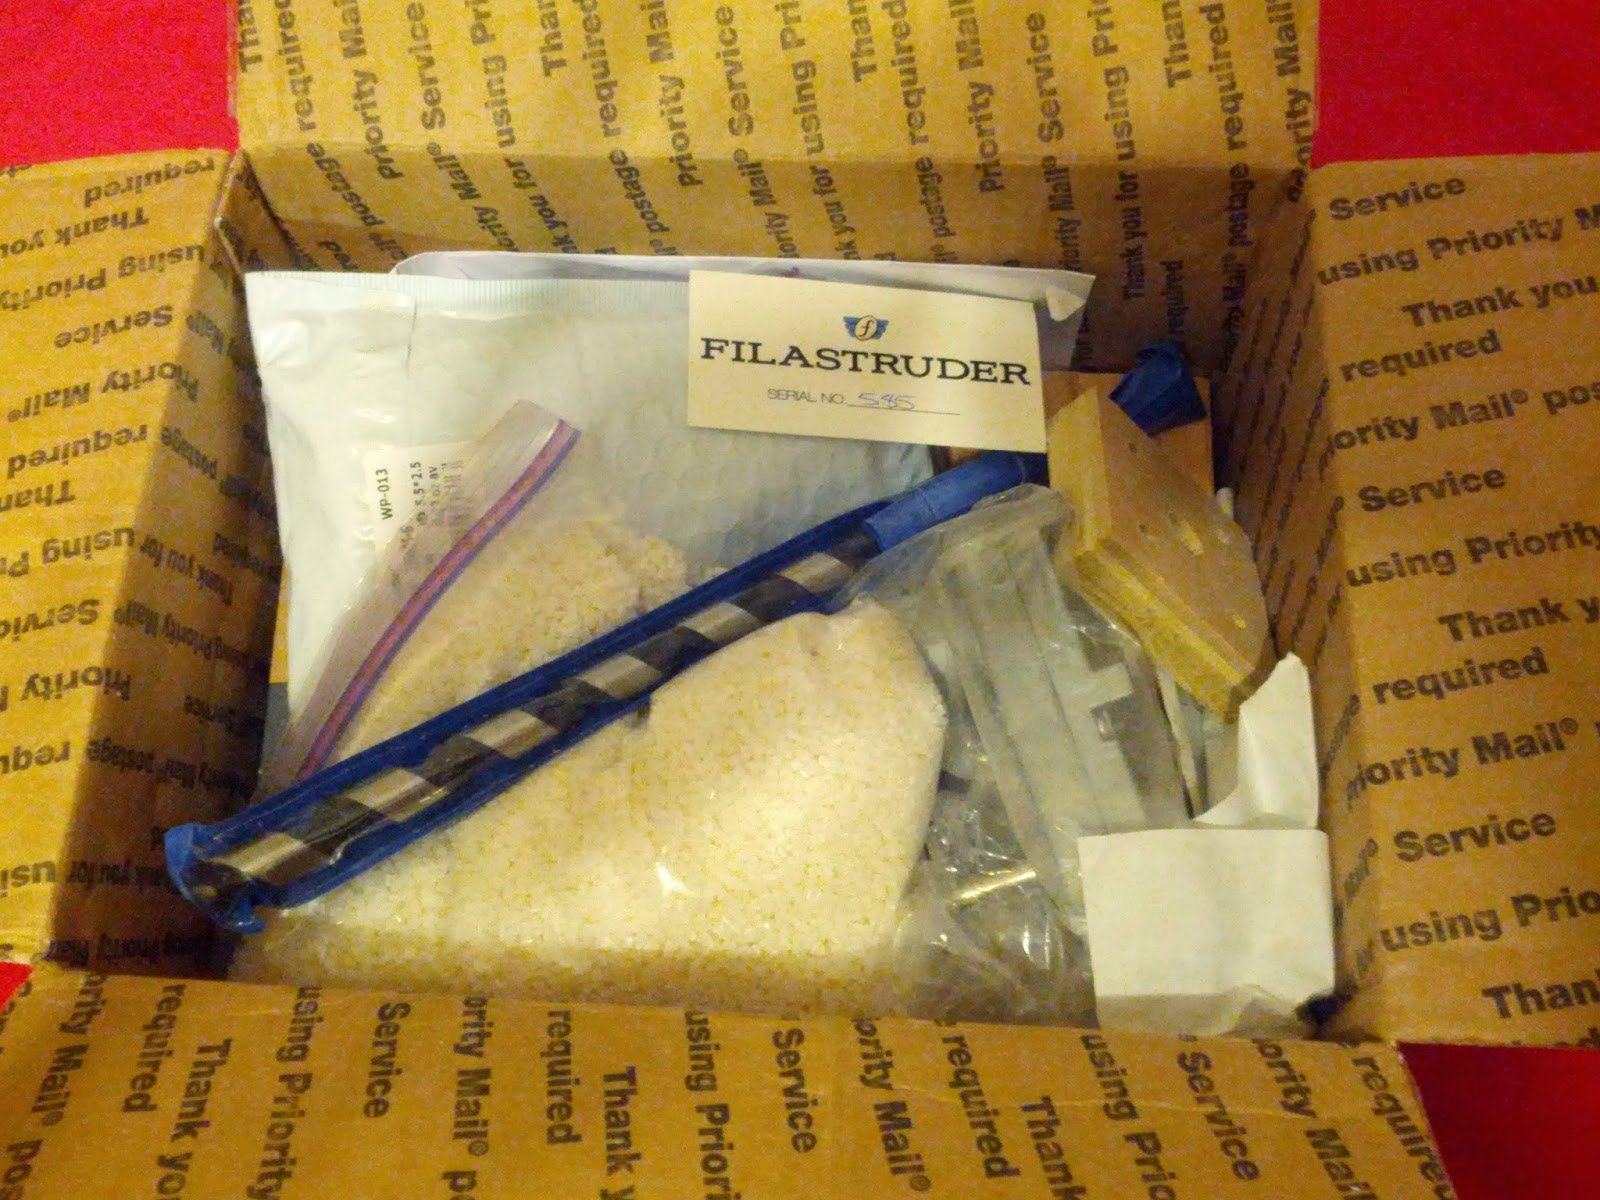


And included a hand written serial number....an unimportant, but nice touch:


Unpacking all the bits reveals:


All the small parts are bagged up together:


A 110-240V a.c. power supply is included. I will need to change the mains plug to a BS1363 one:


I was a bit disappointed to find the feed tube had not been finished. The steel tube had swarf inside and the machined edges were in desperate need of filing. Filastruder warn that a file will be required so I don't mind this, but watch those edges they are sharp!


Both my reprap machines use 3mm filament, so I ordered the 3mm nozzle die as the kit came from the USA, I realised I might find it difficult to get the correct threaded parts. The nozzle looked like a real Friday afternoon job with the hole being off centre. Had I known this was to be the case I would have ordered an un-drilled die and done it myself. Would it break the bank to do this on a lathe? I do not believe it will affect the performance of the machine though:


Also, the piece of wood used to mount the filament bearing and the cooling fan was broken on receipt. Again, not a problem for me as I have this sort of stuff lying around...This may well have happened in transit but a simple examination of the piece before packing would have shown it liable to break.


So, am I satisfied?..Yes. It has saved me the trouble of sourcing and machining the required parts...nuts and bolts and other bits can be difficult to source without buying in quantity. However, the quality of some of the parts could be improved a little. I'm happy with the kit and wish Filastruder every success.

Sunday, 6 October 2013

Rolling my own...


I'm fed up with paying silly money for ABS filament. I have two printers and it's getting expensive to keep them both fed. So I went and ordered a Filastruder. It is on its way as I type.....

Dome on the range part two.


Visit Tagbits to see the full range of tagger products described in this blog.

I make sensor domes for my Milestag guns using 2mm acrylic sheet heated in the oven and press formed over a mold using a 3d printed ring which is designed to fit over the mold. You can see the mold and the forming ring here:


The ring fits into an MDF sheet that allows me to push down enough force to deform the acrylic over the mold:


I wanted to experiment with polycarbonate sheet. It is cheaper and tougher than acrylic. However, it has a higher glass transition temperature (147C) than acrylic (107C) and this caused the ABS plastic of the forming ring to soften and leave deposits on the egde of the dome during the deformation process.

I decided to make a replacement forming ring from aluminium. I bought a billet from ebay for about £6.


I used a combination of drills and boring bars on the lathe to turn a replacement ring. It came out rather well:


It fits nicely into the MDF sheet and works slightly better than the ABS ring when forming the sheet as it has a narrower rim which allows me to apply more pressure to the sheet.

Wednesday, 11 September 2013

Safety Last


Visit Tagbits to see the full range of tagger products described in this blog.

My Milestag sniper rifle is coming along nicely. It has to be ready for the 22nd September when my son plans to use it at his lasertag party. The plan is to have two teams of 8 against a lone sniper.

I've added a couple of features to the rifle:

I've added a Barrett style muzzle brake:


And a mount for the RJ9 connector for the head sensors:


I've plumbed in the LS2020 laser module and this is working. This is going to be used at a commercial lasertag site, which uses Adventure Sports equipment. I have created a special version of my open source UMT code to be compatible with the AS protocol.

I've decided to play it safe with the LS2020 laser. Even though it is a class 1 device, I have modified the software to enable the PIC watchdog timer. The worst case Milestag packet length is around 27ms (all 1s). My software kicks the watchdog only in the 'turn the laser off' code which is called continuously unless a Milestag packet is being transmitted. The watchdog timeout is set to around 30ms and so if anything goes wrong and the laser is left on, the watchdog will reset the PIC and turn it off. So the laser will only ever be on for a maximum of 30ms.

The final step is to align the laser with the telescopic sight. To achieve this I've printed an adapter to allow me to attach a bullet camera to the telescopic sight:


And I've created a special version of the software that sends a Milestag packet every 500ms so I do not have to stand there pressing the trigger and reload buttons as I line up the sights.

Sunday, 1 September 2013

Milestag sniper rifle wiring


Visit Tagbits to see the full range of tagger products described in this blog.

Now I am satisfied with with the LS2020 adjuster I've turned my attention to to the wiring. Using the worlds longest 10mm drill bit:


I drilled a hole along the axis of the stock:


Using some 3mm ABS filament as a pull through, I installed cables for the trigger, muzzle flash and IR laser:


Using picatinny rail mounts modified with holes in the appropriate places:


Finally I fitted the box to contain the electronics. This is mounted with a 3D printed rail mount:


Just need to add the electronics hardware.....

Monday, 26 August 2013

Laser diode adjuster: Third time lucky


Visit Tagbits to see the full range of tagger products described in this blog.

After 3D printing my Mk2 LS2020 laser diode adjuster I decided that it could be improved. I managed to reduce the height by about 20mm and improve rigidity. Here is the new design:


Here it is fitted to the sniper rifle body, note that the wooden stock is now stained:


From the top it is noticeably slimmer than the previous version:

Sunday, 25 August 2013

Laser Adjuster Fitted


Visit Tagbits to see the full range of tagger products described in this blog.


I fitted the LS2020 laser adjuster to my Milestag sniper rifle after printing and fitting a picatinny mounting clamp. It looks good, but it sticks out too far. I've had a few ideas for a Mk3.