Thursday 24 October 2013

Filastruder print results

I printed one of my Lasertag focus tubes with the Filastruder produced filament that I made yesterday. This is a tube designed to hold an infra red LED at the focal point of a lens, and allow the LED to be moved along the focal plane to allow it to be properly focussed. I was really pleased with the results:


The natural ABS supplied with the Filastruder kit has a slightly off white colouring as expected. But the final result is comparable the output from commercially produced filament.

The top surfaces of the flat objects were nicely filled and even:


And no blobs on the Z axis:


The issue I had was with the end of a 45 degree chamfer on the Z axis. It appears that the filament was forced along too tight a radius. I have increased the extrusion temperature, this was done at 230C, and I'm trying again. Fantastic results for first attempt!

Wednesday 23 October 2013

Filastruder Build


I started building my Filastruder kit over the weekend. Stage one is to fasten the nipple (AKA pipe) to the flange.


Then slide the hopper body onto the nipple,(not shown in this pic), and fit the threaded coupling. The coupling is where the brass die screws into.


Stage three involves fitting the auger and assembling the thrust bearing. The thrust bearing is sandwiched between two washers which can be seen butted up against the thrust plate (the upper of the two plywood sheets).

The next stage is to fit the drive collar. This is a 3/8" socket which locks with a small pin against the flat on the output drive of the gearbox.


The pin is held in place with some tape.


The motor is fitted to a small sheet of plywood which is fastened to the base plate with a couple of wood screws. Don't do what I did and pre-drill the screw holes so that the screws clash with the bolts holding the motor in place.


Here it is all fixed together. The heater band and electrics need to be added next.


After fitting the heater band and doing a small test extrusion, I noticed a significant temperature drop from that dialled in on the temperature controller to the actual temperature. A difference of around 30C when the drive motor is running. This is to be expected as the molten ABS is taking heat away from the heated die. I added some extra insulation in the form of aluminium foil:


Here it is with 3D printed switch/ PID controller bracket from Thingiverse and the extended hopper fitted:


The output spooled up:


I've found that the best scenario is to have it reasonably high up. I used a height of about 1.7m for this run. Also, the landing zone needs to be as clear as possible so the filament does not build up as it rubs against (say) a wall, then jars as gravity frees it. I've been getting +/-0.1mm on the filament. I believe I can improve this by reducing the aforementioned jarring. Overall: HAPPY ;O)

Friday 18 October 2013

Filastruder Unboxing


My Filastruder arrived today after I parted with 46UKP to Her Majesty for the privilege of bringing it into the country.
It took a total of 25 days from ordering to arrival. Three of those days were spent in Her Majesty's customs whilst they sent me a letter demanding the fee mentioned above. I was able to track the package using UPS's tracking service throughout the journey.

It arrived well packaged:


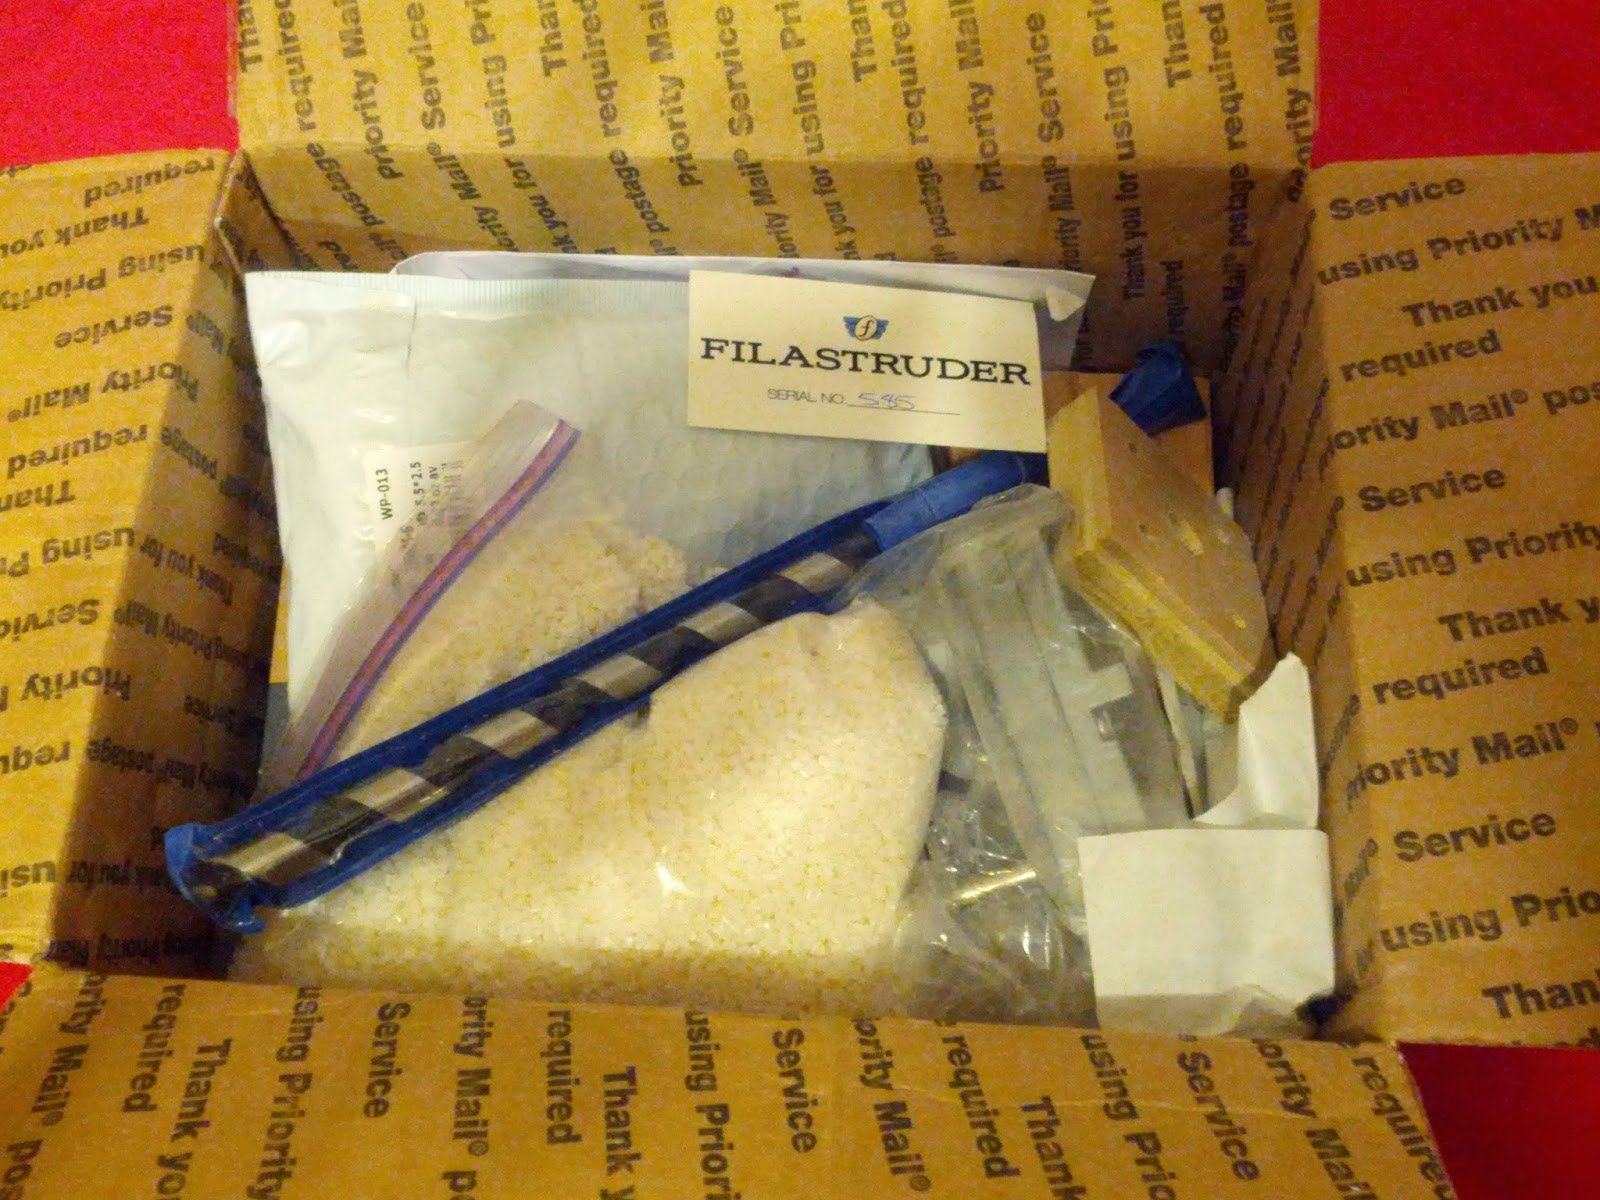
Box was not too cramped:


And included a hand written serial number....an unimportant, but nice touch:


Unpacking all the bits reveals:


All the small parts are bagged up together:


A 110-240V a.c. power supply is included. I will need to change the mains plug to a BS1363 one:


I was a bit disappointed to find the feed tube had not been finished. The steel tube had swarf inside and the machined edges were in desperate need of filing. Filastruder warn that a file will be required so I don't mind this, but watch those edges they are sharp!


Both my reprap machines use 3mm filament, so I ordered the 3mm nozzle die as the kit came from the USA, I realised I might find it difficult to get the correct threaded parts. The nozzle looked like a real Friday afternoon job with the hole being off centre. Had I known this was to be the case I would have ordered an un-drilled die and done it myself. Would it break the bank to do this on a lathe? I do not believe it will affect the performance of the machine though:


Also, the piece of wood used to mount the filament bearing and the cooling fan was broken on receipt. Again, not a problem for me as I have this sort of stuff lying around...This may well have happened in transit but a simple examination of the piece before packing would have shown it liable to break.


So, am I satisfied?..Yes. It has saved me the trouble of sourcing and machining the required parts...nuts and bolts and other bits can be difficult to source without buying in quantity. However, the quality of some of the parts could be improved a little. I'm happy with the kit and wish Filastruder every success.

Sunday 6 October 2013

Rolling my own...


I'm fed up with paying silly money for ABS filament. I have two printers and it's getting expensive to keep them both fed. So I went and ordered a Filastruder. It is on its way as I type.....

Dome on the range part two.


Visit Tagbits to see the full range of tagger products described in this blog.

I make sensor domes for my Milestag guns using 2mm acrylic sheet heated in the oven and press formed over a mold using a 3d printed ring which is designed to fit over the mold. You can see the mold and the forming ring here:


The ring fits into an MDF sheet that allows me to push down enough force to deform the acrylic over the mold:


I wanted to experiment with polycarbonate sheet. It is cheaper and tougher than acrylic. However, it has a higher glass transition temperature (147C) than acrylic (107C) and this caused the ABS plastic of the forming ring to soften and leave deposits on the egde of the dome during the deformation process.

I decided to make a replacement forming ring from aluminium. I bought a billet from ebay for about £6.


I used a combination of drills and boring bars on the lathe to turn a replacement ring. It came out rather well:


It fits nicely into the MDF sheet and works slightly better than the ABS ring when forming the sheet as it has a narrower rim which allows me to apply more pressure to the sheet.