Saturday 30 July 2011

Iron sights

I now have 4 complete RepRap'ed Milestag guns. The only problem is that I only have two optical sights available and my son and his friends were complaining about aiming the two sightless guns.

So I designed and printed some classic style iron sights. These are not ideal for the kids as they take a bit of effort to use but they are better than nothing.

Here is the sight after printing:


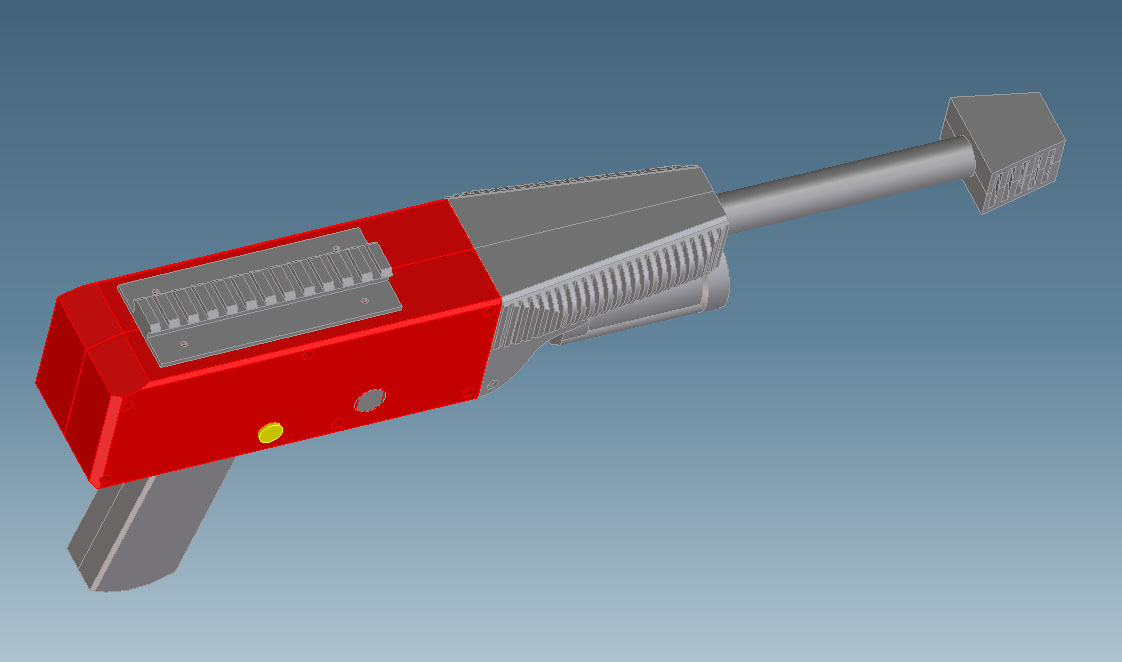
And attached to a Mk3 Milestag gun:


I've been letting my son use them as he and his friends are an excellent test of robustness, the only casualty so far was a sight mount that I have since reprinted at 100% fill. Here they are all tooled up with Mk1, Mk2 and Mk3 guns. All gun bodies are entirely 3D printed except for barrels (20mm conduit) and the optical sights.

Wednesday 20 July 2011

Dome Mounts Finalised

In previous posts I've shown how I used velcro to fasten the Milestag sensor domes to baseball caps. I originally started sewing these in place, but my wife saw what a mess I was making and did it properly for me.

The problem is that as I print more Milestag guns she hasn't got the time to sew all these velcro patches in place, so I had to look for an alternative method.

Initially I tried fabric glue. At first this seemed promising but failed completely when the caps got wet. I decided to try snap fasteners. These are frequently used on boat and convertible car canopies, and can be held in pace with with rivets or screws.

I designed a new RepRap'ed dome mount with placements for two fasteners held in place with short self tapping screws:


I used two fasteners to prevent the domes from rotating. Here it is with the sensor PCB in place:


This is a much faster way of attaching the domes. No sewing or waiting for glue to dry. It takes about 3 minutes to punch a hole and rivet the stud to the cap.

Saturday 16 July 2011

Mk3 Final Parts

I printed the final parts for my RepRap'd Milestag gun today. It's a muzzle flash suppressor modelled on this sort of design.


Here is my suppressor design after painting matt black:


The Milestag circuit drives a high intensity LED for the muzzle flash, but this sort of design needs to diffuse the light from the LED along the suppressor.

I've used PLA successfully in the past for this purpose, but I'm unable to print PLA at this time so Nophead kindly agreed to print me my design:


I've also managed to find time to fully assemble the gun:


Here is a video of the flash suppressor

Friday 8 July 2011

Angle of attack

This week I've been printing the Mk3 version of my RepRap'd Milestag gun. This version is only aesthetically different from the Mk2 in that it has a tapered barrel mount with dummy barrel cooling:


The RepRap challenge here is the tapered section. I need to print this part:


There are 3 ways I can do this:

1. Vertically


The problem here is that there are several sections that are orthogonal to the Z axis. The only way to print these is to have either support material or 45 degree angles leading up to them. Both are wasteful and time consuming.


2. Support material


I could chose to print the part with support material. This will of course take longer and use more ABS filament.


3. Rotate the part

I decided the best way to print this was to rotate the part so that the largest surface was parallel to the bed.


I had concerns that the edges or the faces orthogonal to the barrel axis might not mate very well. I was not disappointed:


Here you can see how well the faces that were angled to the bed match up:

Monday 4 July 2011

Picatinny

This weekend I printed a Picatinny rail sight mount for my Reprap'd Milestag gun. It came out very well thanks to the engineering drawings on Wikipedia.

Here it is hot off the printer:


Again I cleaned the ABS with MGR before spraying. When I printed the gun main body, I placed four holes to align with the holes in the rail mounting plate, but the holes are covered by about 3 layers of ABS. This allows me to have an unblemished gun body if I decide not to fit this rail.

To fit it, I simply align the plate and screw #4 self tap screws through the plate into the gun body, they pierce the first 3 'blanking' layers then engage in the holes.

Here is the rail fitted to the gun with a red dot optical sight:

Saturday 2 July 2011

Dome Sweet Dome

Today I completed the IR sensor dome for my ReRap'ed Milestag gun. The standard Milestag domes are supplied with base and dome sections.

The method of joining the base to the dome is undocumented, but most seem to end up gluing them together. I don't like gluing several GBP worth of electronics into an inaccessible housing, so I printed myself a new base for the dome. This has a mounting pillar to fit the homemade Milestag sensor PCBs that I designed. It also has 3 screws to fasten the dome to the base so I can disassemble the sensor when required.

Here is a picture of the sensor PCB and the dome base/fastener washer that I printed:


Here is the sensor PCB fitted to the dome base:


The dome base has three holes for #2 x 6.4mm self tap screws. These fasten the acrylic dome to the ABS base:


Here is the fully assembled unit. Note the two self tap screws on the LHS/RHS of the dome:

Friday 1 July 2011

Paint it Black

Last night I printed the final part for my RepRap'd Milestag gun. It's the end piece for the muzzle designed to look like a flash suppressor. Inside it is a rod of PLA printed for me by Nophead. This has a high brightness LED fitted inside to diffuse the light along the length of the rod.

In this picture you can see the muzzle end with the PLA rod on the left:


Over the last few days I've been painting the ABS body and installing the Milestag electronics. I've found the best way to paint ABS is wipe it with a lint free cloth with MGR. I had this left over from my high pressure water gun project and it cleans ABS and PVC equally well.


I then sprayed it with matt black paint I got from a local car spares shop. It looks pretty good now it is all together:


Here you can see the LCD panel, speaker holes and battery cover:


And a close up of the flash suppressor with the LED diffuser fitted:


I now need to build the head IR sensors then it's done.